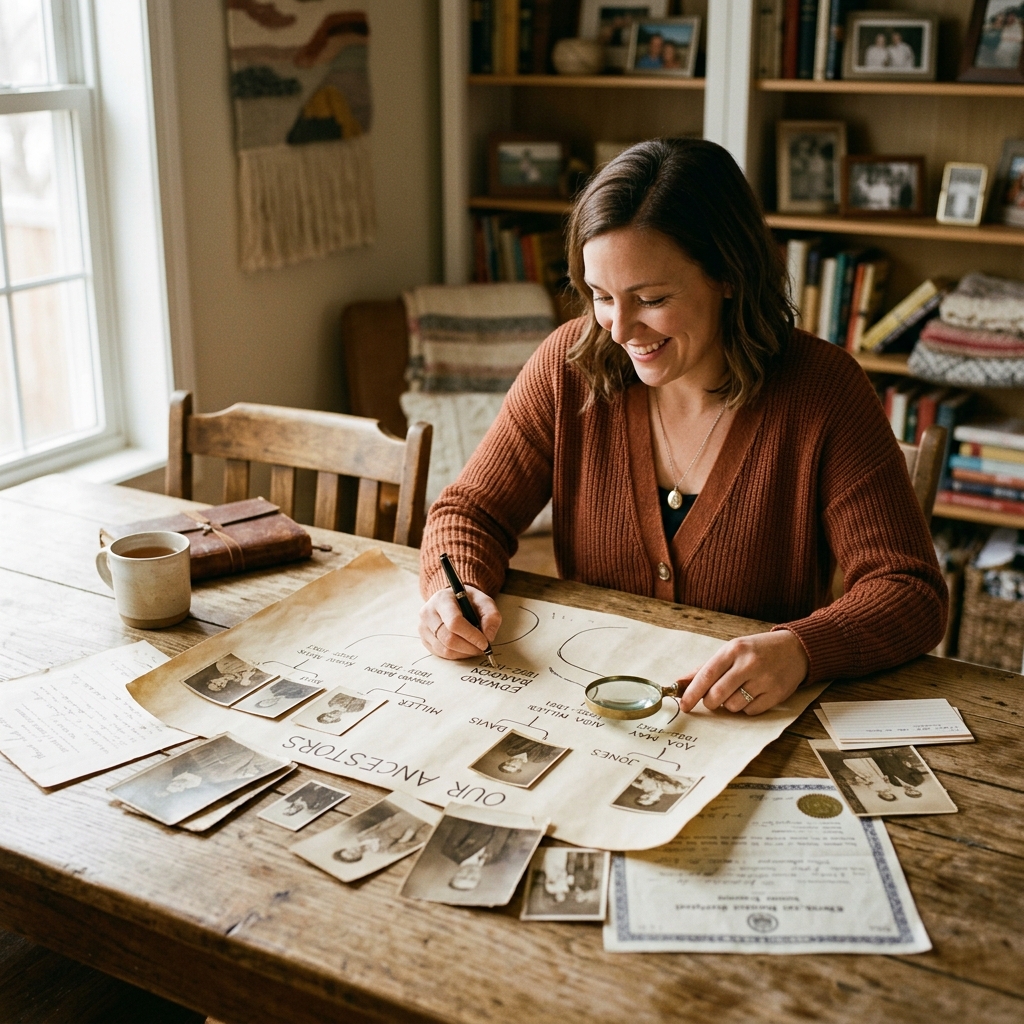
Building a family tree can feel overwhelming.
You may have hundreds of DNA matches, several versions of the same surname, unidentified photographs, and family stories that contradict one another.
The solution is not to research everyone at once.
Start with yourself, work backward one generation at a time, and attach evidence to every important relationship.
A reliable family tree is not the tree with the most names. It is the tree whose connections can be explained and supported.
What Is a Family Tree?
A family tree is an organized record of relationships between generations. It may include parents, children, grandparents, great-grandparents, siblings, half-siblings, spouses, adoptive relatives, biological relatives, and extended family branches.
A genealogical tree may also include dates, locations, occupations, photographs, immigration records, military service, stories, and source documents.
The goal is not only to collect names. It is to understand how people were connected and where the information came from.
Step 1: Start With Yourself
Create the first profile using information you know is correct. Record your full legal name, birth name, date of birth, place of birth, parents' names, major residences, marriage details if relevant, children, and important documents.
Then create profiles for your parents. After that, add your grandparents.
Do not begin with a person from the seventeenth century who shares your surname. Genealogy works best when you move from the known to the unknown.
Step 2: Record Maiden Names
Maiden names are essential. Without a woman's birth surname, an entire family branch may become difficult to trace.
Record full maiden names, married names, alternate spellings, previous marriages, names used in different countries, and transliterations from other alphabets.
A person may appear under several versions of the same name. For example, a Ukrainian or Polish surname could be written differently in German, English, Russian, or immigration records.
Step 3: Interview Older Relatives
Speak to the oldest available relatives early in your research. Ask:
- Where were your parents born?
- What were your grandparents' full names?
- Did anyone change their surname?
- Which languages did the family speak?
- Did relatives migrate together?
- Are there family members nobody discusses?
- Which towns or villages were connected to the family?
- Who is shown in old photographs?
- What professions did relatives have?
- Where were they buried?
- Did anyone serve in the military?
- Which religious community did they belong to?
Record the conversation with permission. Memories may contain errors, but even an imperfect story can reveal a useful surname, village, relationship, or historical event.
Step 4: Collect Home Sources
Before paying for subscriptions, search your home and relatives' homes. Useful sources include:
- birth certificates;
- marriage certificates;
- death certificates;
- passports;
- immigration documents;
- old identification cards;
- letters;
- diaries;
- military papers;
- school certificates;
- funeral cards;
- family Bibles;
- photographs;
- address books;
- property records.
Scan or photograph each item. Do not write directly on original historical photographs. Store the identification information in the digital filename or a separate catalog.
Step 5: Build the First Four Generations
A practical first goal is to identify:
- Yourself.
- Your parents.
- Your grandparents.
- Your great-grandparents.
For each person, try to find their full name, birth date and place, marriage date and place, death date and place, parents, spouse, and children.
Do not worry if some details remain unknown. Clearly label uncertain information instead of filling the gap with a guess.
Step 6: Use Civil Registration Records
Civil records usually include births, marriages, and deaths. Depending on the country and period, they may reveal parents' names, mother's maiden name, occupation, residence, age, witnesses, birthplace, spouse, cause of death, and informant's name.
Marriage records are often especially valuable because they can connect two generations and identify both families. Search for the original image when possible, not only a database transcription. Transcriptions can contain spelling and date errors.
Step 7: Search Religious Records
Before civil registration became widespread, churches, synagogues, mosques, and other religious communities often recorded major life events. Search for baptisms, christenings, marriages, burials, confirmations, conversions, godparents, and witnesses.
Godparents and witnesses were frequently relatives or close members of the family's social network. They can help confirm that you found the correct person.
Step 8: Use Census and Residence Records
Census and residence records can show an entire household in one place. They may include age, relationship, occupation, birthplace, nationality, address, language, immigration year, citizenship, and other relatives in the home.
Compare several censuses over time. Children may appear or disappear, older relatives may move into the home, and migration information may become more specific in later records.
Step 9: Follow Siblings, Not Only Direct Ancestors
Your great-grandfather's record may contain very little information. His sister's marriage certificate may name both parents and the exact village of birth.
Researching siblings can help solve missing information about direct ancestors. Also investigate cousins, witnesses, godparents, neighbors, traveling companions, and people sharing an unusual surname.
This is often called cluster research. Families rarely lived and migrated completely alone.
Step 10: Understand Historical Borders
The country written in a family document may not match the modern map. A person could be recorded as born in Austria, Russia, Prussia, the Ottoman Empire, Yugoslavia, or Czechoslovakia. The same village may now be located in a different modern country.
Always research the location as it existed during the ancestor's lifetime. Search for historical country names, former administrative districts, parish boundaries, alternative spellings, names in multiple languages, and old maps.
Step 11: Add Sources to Every Important Fact
A source explains where the information came from. For example:
Fact: Maria Novak was born on 12 April 1892.
Source: Civil birth register, Kraków district, entry 148, image accessed 6 August 2026.
Useful source details include the document title, archive or website, collection, record number, page or image, access date, and link where stable. Sources allow you and other family members to review the evidence later.
Step 12: Separate Facts From Possibilities
Use confidence labels:
Confirmed
Supported by reliable documents or several independent sources.
Probable
Strong evidence exists, but one important connection still needs confirmation.
Possible
The person may fit, but the evidence is incomplete.
Disproved
Evidence shows that the person belongs to another family.
Never present an attractive theory as a confirmed relationship.
Step 13: Use Online Family Trees Carefully
Online trees can provide useful clues. They can also copy the same mistake thousands of times. Before adding information from another person's tree, ask:
- Does the tree show sources?
- Do the dates make sense?
- Are the locations plausible?
- Could two people with the same name have been confused?
- Was the parent old enough to have the child?
- Does the marriage occur before the children's births?
- Is the original record available?
Use online trees as research hints, not automatic proof.
Step 14: Add DNA Matches
DNA matches may help confirm or challenge branches of the tree. Begin with tested parents, known siblings, known aunts and uncles, and known first or second cousins.
Link matches to documented ancestors. DNA evidence is strongest when combined with records.
What If You Do Not Know One Parent?
Build the known side first. For the unknown branch:
- Identify your closest unknown DNA matches.
- Determine whether they are maternal or paternal.
- Review shared matches.
- Group matches into clusters.
- Build research trees for the strongest matches.
- Find the common ancestral couples.
- Identify descendants who fit the required age, place, and timeline.
Do not add an unknown biological parent to your public family tree until the conclusion is well supported.
What If Records Were Destroyed?
Alternative sources may include newspapers, cemetery registers, obituaries, military files, land records, school records, tax lists, city directories, refugee records, immigration files, oral histories, records of siblings, and DNA matches.
The loss of one record collection does not always end the research.
Free Ways to Start a Family Tree
You can begin without paying for a DNA test or expensive subscription. Try:
- interviews with relatives;
- documents at home;
- local libraries;
- public archives;
- FamilySearch;
- cemetery databases;
- national digital archives;
- historical newspapers;
- local genealogy groups;
- free mapping tools;
- spreadsheets.
Paid platforms may offer additional records and convenience, but the research method remains the same.
How Ancestor Lens Can Support Family-History Curiosity
Ancestor Lens does not build a documented genealogical tree automatically. It provides a visual starting point that can inspire questions such as:
- Which side of my family do I resemble?
- Which countries do my features visually resemble?
- Why do I look like one grandparent?
- What historical region should I research?
- Which relative should I compare next?
Use the visual result to begin conversations. Use records and DNA evidence to confirm the family tree.
Explore My Visual Heritage with Ancestor LensDiscover which countries your facial features visually resemble — no DNA required.
Family Tree Checklist
Before marking a generation complete, check whether you have:
- ✓ full names;
- ✓ maiden names;
- ✓ approximate dates;
- ✓ birth locations;
- ✓ spouses;
- ✓ children;
- ✓ parents;
- ✓ at least one supporting source;
- ✓ alternative spellings;
- ✓ unresolved questions clearly labeled.
Frequently Asked Questions
How do I start building a family tree?
Start with yourself, add your parents and grandparents, and work backward one generation at a time.
What information do I need for a family tree?
Collect full names, maiden names, birth dates, marriage information, death dates, locations, relationships, and sources.
Can I build a family tree for free?
Yes. Family interviews, home documents, public archives, libraries, and free genealogy resources can help you begin.
How far back can a family tree go?
It depends on the survival and availability of records. Some branches may be traceable for centuries, while others may stop after a few generations.
Are online family trees accurate?
Some are carefully documented; others contain copied mistakes. Verify every important relationship with reliable sources.
Can DNA build my family tree automatically?
DNA matches can support research, but they usually need to be interpreted alongside records, shared matches, and documented family trees.
What if I do not know one biological parent?
Use your closest DNA matches, shared-match groups, ages, locations, and research trees to identify the likely family branch.
Final Thoughts
A family tree does not need to begin with an extraordinary discovery. It begins with one fact you know.
Your name. Your parents. A grandmother's birthplace. A marriage certificate. A surname written on the back of a photograph.
Record that fact, attach the source, and move backward carefully. The goal is not to collect the largest number of ancestors. It is to build a family story that can be understood, verified, and preserved.
Recommended Articles
- 👉 How to Find Your Ancestors for Free
- 👉 Where Does My Last Name Come From? Find Your Surname Origin
- 👉 How to Find Your Ancestors' Immigration Records Online
- 👉 What Do Ancestry DNA Percentages Really Mean?
- 👉 How to Understand DNA Matches: A Beginner's Guide
- 👉 Why Do Ancestry DNA Results Differ Between Companies?
Begin My Ancestry Journey
Start exploring your visual heritage with Ancestor Lens. Upload a photo and discover which countries your face visually resembles — no DNA required.